10 Adorable and Easy Pumpkin Carving Ideas
Here are 10 adorable and easy pumpkin carving ideas to elevate your Halloween decor:
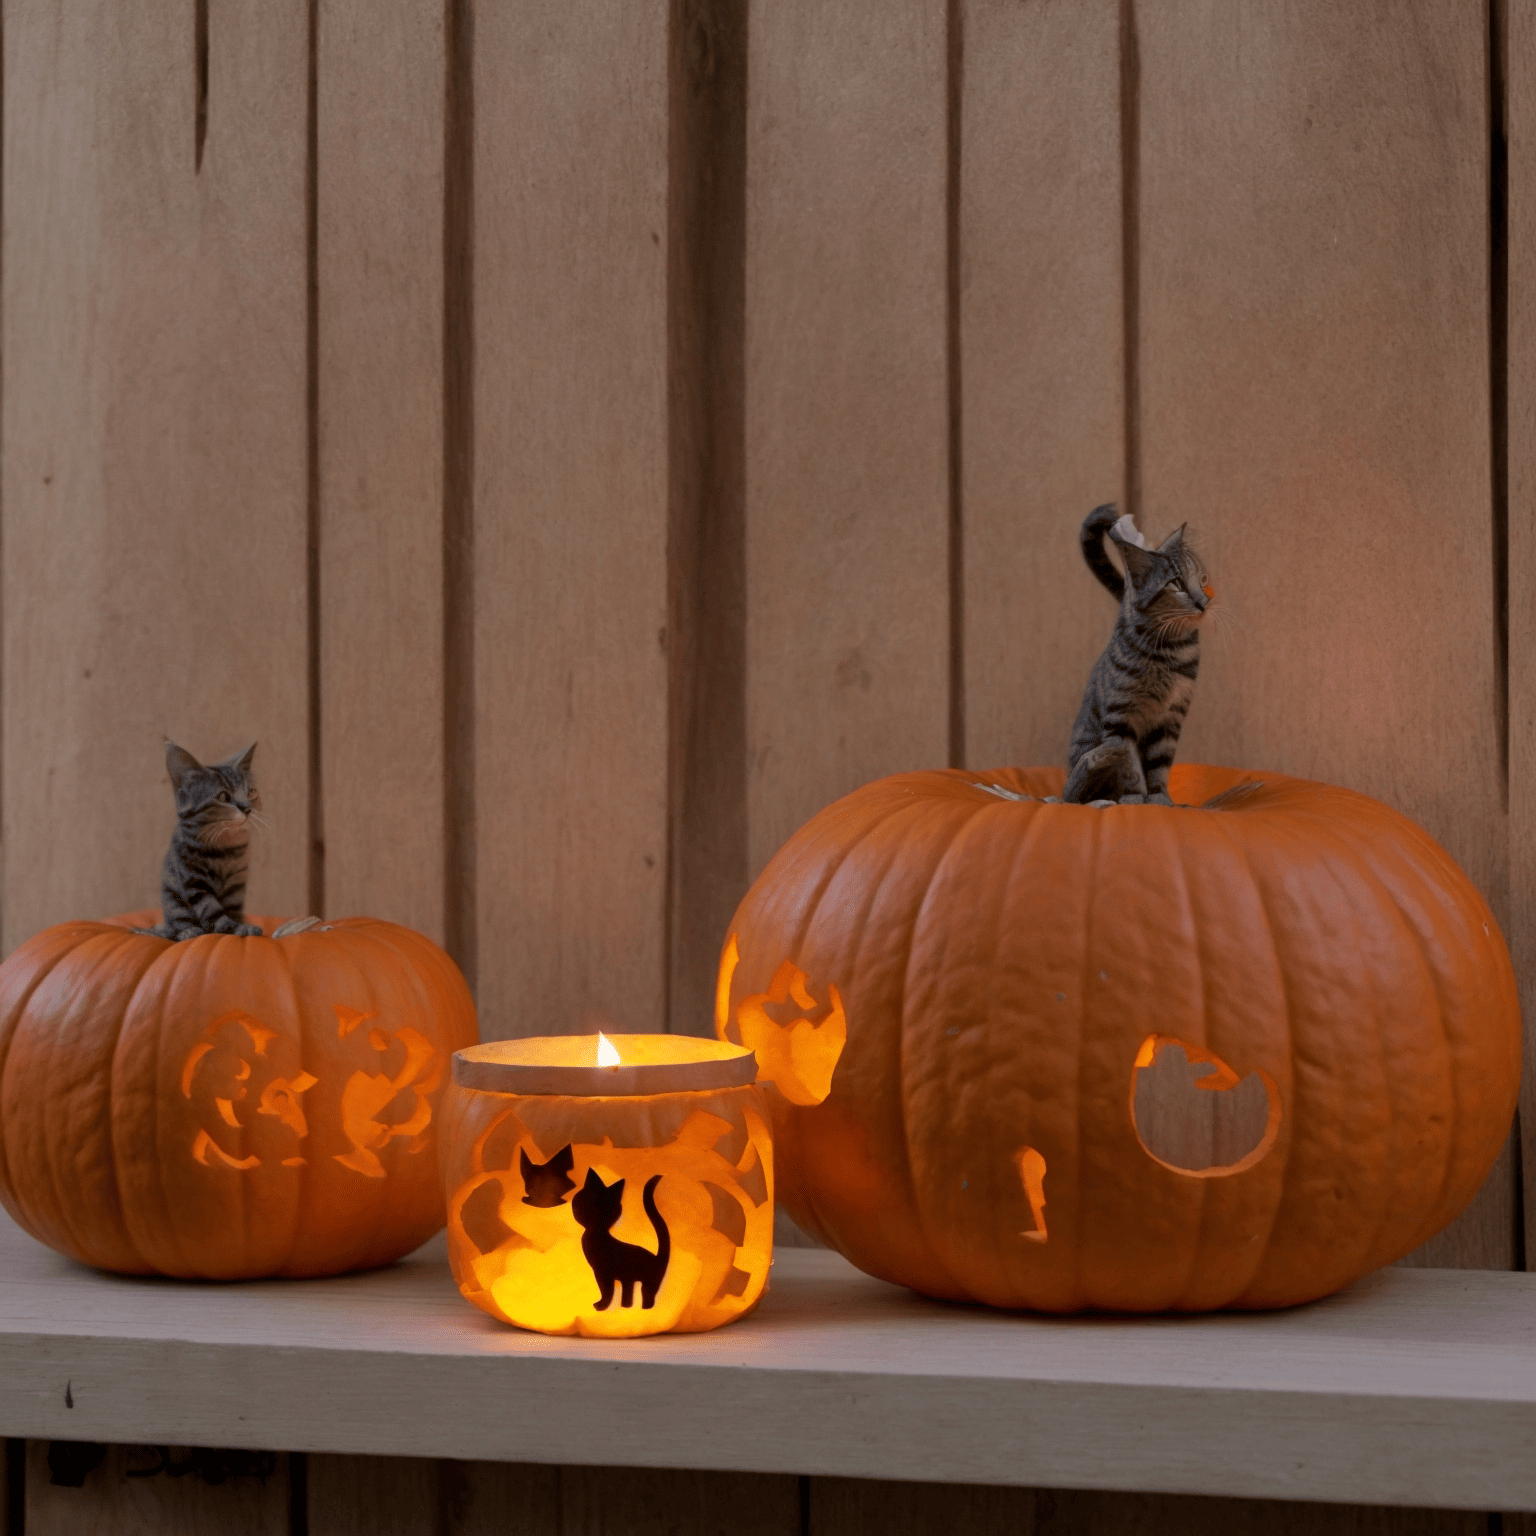
Friendly Kitten Pumpkin:
- Cut off the top and scrape out the pumpkin guts. Carve two triangles for the ears, two diamonds for the eyes, and a few more triangles for the nose and whiskers.
Puppy Paw Pumpkin:
- Carve a simple paw print into a small pumpkin. This is a great way to celebrate your furry friend.
Cat Pumpkin:
- Cut out triangular ears and scrape the flesh from the underside. Use cocktail sticks to secure the ears to the top of the pumpkin. This design features chunky whiskers and expressive eyes.
Owl Pumpkin:
- Carve small arrowheads down the middle for a feathery effect. Cut orange peels into feet to add the final touch to this Halloween bird.
Laughing Pumpkin:
- Create a goofy pumpkin face with a gap-toothed smile. This is a simple design that kids can also try.
Polka Dots Pumpkin:
- Carve out small dots and circles using small knives or skewers. This design is easy and visually appealing.
Bat Pumpkin:
- Draw a simple bat shape and carve it out directly or create a silhouette. This is a classic Halloween design.
Mice Pumpkins:
- Carve different-sized holes around the pumpkin and stick plastic mice as though they're emerging and entering each hole. This creates a creepy yet fun display.
Feather Pumpkin:
- Use a feather template to carve the surface skin of the pumpkin, leaving the flesh exposed. This creates a textured, artistic look.
Candy Coated Pumpkin:
- Outline features with Twizzler's Pull 'N 'Peel, use candy corns and jelly beans for the eyes, and Chiclet gum for a toothy smile. This is a fun and colorful idea.
Tips for Carving:
- Use the right tools: Serrated knives, pumpkin carving kits, and washable chalk markers are essential.
- Draw the design first: Use a pencil to draw the design so you can rub it out if you make a mistake.
- Preserve the pumpkin: Spray vinegar on the carved areas to help them last longer.
- Lighting: Use string lights or tealights to illuminate your carved pumpkin for a stunning glow.
These ideas offer a mix of cute, funny, and creative designs that are easy to execute, making them perfect for both beginners and kids.
To carve a pumpkin, follow these step-by-step instructions, which are easy to understand and perfect for beginners.
Step 1: Choose the Right Pumpkin
- Select a fresh pumpkin: Look for one with a sturdy stem, no bruises, and a flat bottom to prevent it from rolling while you carve.
- Pick a size that suits you: Smaller pumpkins are easier to handle for beginners.
Step 2: Gather Your Tools and Materials
- Pumpkin carving saw or serrated knife: These are essential for carving. You can purchase pumpkin carving kits that include saws, a poking tool, and a scoop.
- Metal spoon or pumpkin scoop: For scooping out the pulp and seeds.
- Push pin, needle, or small nail: For poking holes along your design.
- Tape: Any kind will do for securing patterns.
- Patterns or stencils: You can find these online or use pumpkin carving kits that come with patterns.
Step 3: Cut Out the Lid
- Cut from the bottom: Instead of cutting from the top, cut a lid from the bottom of the pumpkin to prevent the sides from caving in later.
- If you do cut from the top, cut the lid on an angle to prevent it from dropping inside the pumpkin.
- Use a boning knife or serrated knife for this step.
Step 4: Scoop Out the Pulp
- Use an ice cream scoop or large spoon: These tools are ideal for scooping out the seeds and pulp from inside the pumpkin.
- Thin the inner wall of the "face" area to about 1¼-inch thick to make it easier to pierce the shell.
Step 5: Sketch Your Design
- Draw your design on paper: Sketch your jack-o'-lantern face to size. You can use this as a pattern by taping it to the front of your pumpkin.
- Alternatively, use a pumpkin carving kit with pre-made patterns and a marker to trace your design onto the pumpkin.
Step 6: Transfer the Design
- Use a fork or pencil to poke holes: Along the lines of your design, poke holes to guide your carving.
- If using a stencil, place it on the pumpkin and trace the design with a marker or pencil.
Step 7: Carve Your Pumpkin
- Hold the pumpkin in your lap: This makes it easier to carve, especially when the face is gazing up at you.
- Use short, fast strokes: For most of the pattern, use short, fast strokes with your saw or serrated knife. For detailed sections, use single strokes, realigning the blade each time.
- Carve from the center outwards: Start at the center of your pattern and work outwards. Ensure there is uncarved pumpkin on at least one side of the section you're working on.
Step 8: Clean Up the Edges
- Remove big pieces first: Get the large sections of pumpkin out of the way, then go back and clean up the edges of your design.
- Use a small saw or serrated knife: For intricate designs and cleaning up the edges.
Step 9: Add Final Touches
- Use scraps creatively: Make accessories like a tongue, pipe, or hair from discarded pumpkin pieces.
- Preserve your pumpkin: Apply petroleum jelly to the cut edges to seal in moisture and help your pumpkin last longer.
Step 10: Light It Up
- Place a candle or light source: Insert a tealight candle or other light source into your pumpkin before lighting. You can also use battery-operated votives or Christmas lights for a safer option.
- Create a chimney: Leave the lid on for a few minutes while the candle burns, then make a small hole where the lid has blackened to allow smoke to escape.
Example Design: Simple Jack-o'-Lantern
Step-by-Step for a Simple Jack-o'-Lantern:
- Draw a face: Sketch a simple face with eyes, a nose, and a mouth on your pumpkin.
- Transfer the design: Use a fork or pencil to poke holes along the lines of your face.
- Carve the face: Use a serrated knife or pumpkin carving saw to carefully carve out the eyes, nose, and mouth.
- Clean up the edges: Remove any excess pumpkin and smooth out the edges.
- Light it up: Place a candle or light source inside and enjoy your glowing jack-o'-lantern.
Tips for Beginners:
- Be patient: Carving a pumpkin takes time and patience, especially for intricate designs.
- Use the right tools: Serrated knives and pumpkin carving saws are safer and more effective than larger kitchen knives.
- Supervise children: Always supervise children when they are participating in pumpkin carving to ensure safety.
By following these steps, you can create a beautiful and festive pumpkin for Halloween.
